Handyman Jax - Your Go-To Handyman in Jacksonville, FL
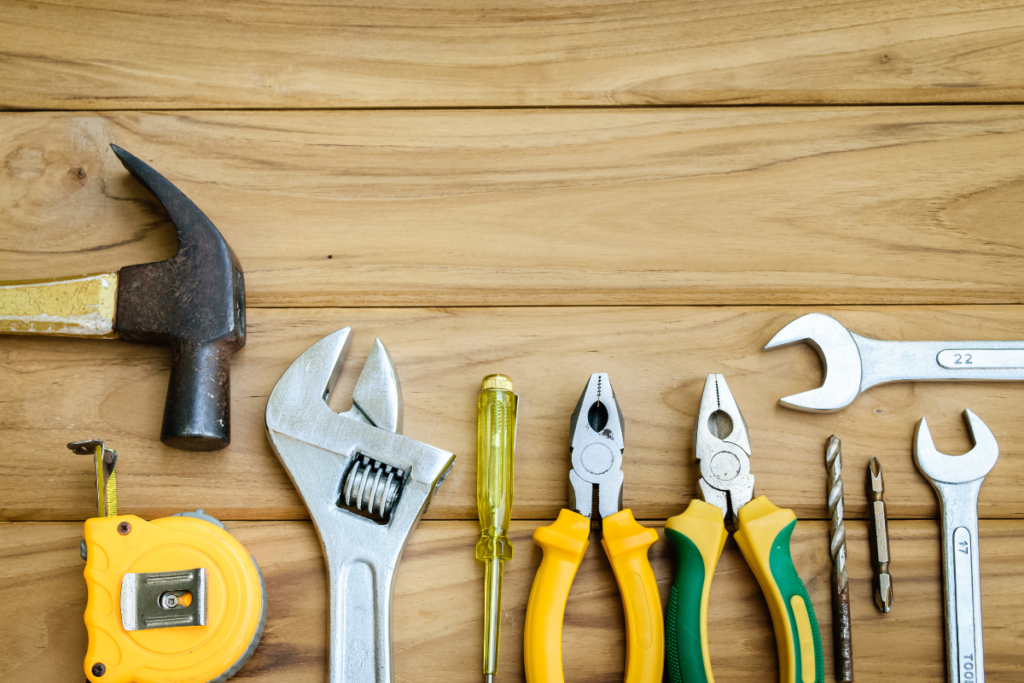
Handyman Jax offers a comprehensive range of handyman services, including plumbing, carpentry, furniture assembly, home repairs, and much more! Don’t hesitate to contact our team of skilled handymen today.


Handyman Near Jacksonville, FL: We're a Team of Versatile Handyman Professionals for Home and Office Maintenance and Repairs.
With 20 years of experience in handyman services in Jacksonville, Florida, our team of 30 skilled professionals is here to assist you with all your home and office maintenance needs. Whether you’re dealing with a complex repair or a simple quick fix, we’ll help you sort it out at the most affordable cost.
Services Offered at Handyman Jax

Combat leaky faucets and clogged drains with our top-notch plumbing solutions in Jacksonville, FL. Our skilled team promptly addresses your plumbing concerns, ensuring efficient and affordable services to keep your home running smoothly. Reach out today for unrivaled reliability and peace of mind!

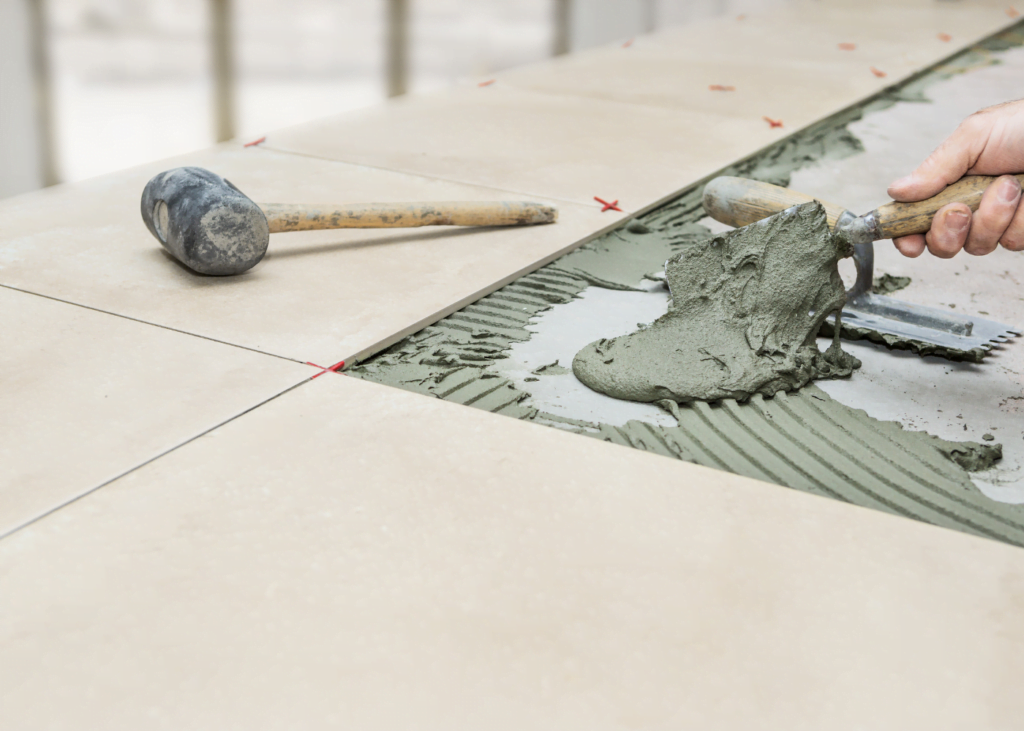
At Handyman Jax, we transform spaces in Jacksonville, FL with our exceptional tile installation services. Our dedicated craftsmen blend artistry with precision, ensuring every tile is perfectly placed. Elevate your home’s aesthetics with our unmatched expertise. Experience the blend of beauty, durability, and craftsmanship with us.

Facing wall imperfections like cracks, holes, or water damage? Handyman Jax is your go-to solution in Jacksonville, FL. Our expert team delivers impeccable drywall repair, restoring your walls to pristine condition. Experience a seamless blend of quality and aesthetics with our unmatched drywall services.
Need Handyman Near Jacksonville, FL?
Need help with pipe leakage or a clogged drain? we offer affordable emergency services that are just a call away.

🏡 Jacksonville, Florida Residents! 🌴
Don’t miss out on our informative and engaging blog! Whether you’re looking for DIY tips, insights into handyman services, or updates on the latest home improvement trends, we’ve got you covered. Our experts at Handyman Jax regularly contribute valuable content designed to help you enhance your home and simplify maintenance tasks. So go ahead, elevate your homeowner knowledge by checking out our blog today!

Check out Handyman Jax's latest post ✨
Creating Functional Home Offices in Jacksonville
Are you one of the many people in Jacksonville who work from home or need a dedicated space for occasional work? If so, you know how important it is to have a functional home office that suits your needs and preferences. A well-designed and comfortable home office can boost your productivity, creativity, and well-being.
Listen to Handyman Jax's Featured Podcast
🎙️ New Podcast Episode Alert! 🏡 Home Safety & Comfort Essentials
Hey there, home improvement enthusiasts! Check out what we’ve got lined up for you in this featured podcast:
- 🔥 Fire Safety: Delving into whether smoke and CO detectors are enough to keep your home safe. We’ve got some eye-opening insights!
- 🧼 Cleaning Hazards: Navigating the world of cleaning products - what to look for and how to stay safe.
- 🌡️ Insulation Game-Changer: Discover a revolutionary product that not only improves insulation but also skyrockets your home’s energy efficiency.
Plus, we’re answering YOUR questions:
- Plumbing Leak Fixes 🚰
- Sunroom Building Tips 🌞
- Solutions for House Leveling 🏠
- Water Softener Maintenance 💧
- Affordable Rural Security Systems 🚨
- Detecting and Fixing Roof Leaks 🌧️
- Solving Noisy Siding Mysteries 🔊
- Reviving Stained Patios 🪑
- Choosing the Right Products for a Stone Porch 🏛️
- Faucet Plumbing Troubles 🛠️
Tune in for all this and more, as we help you make your home a safer, more comfortable haven.
